KVM嵌套虚拟化安装FusionCompute
13
环境
宿主机
操作系统:Ubuntu 20.04.6 LTS
系统架构:X86
涉及命令:virsh、qemu-img
准备工作
镜像下载
华为官网下载FusionCompute_CNA-8.6.0.SPC200-X86_64.iso
FusionCompute_VRM-8.6.0.SPC200-X86_64.iso
软件安装
virsh
qemu-img
安装
VRM部署
创建硬盘
qemu-img create -f qcow2 /data/fc/vm/VRM-NEW.qcow2 200G创建并启动虚机
virt-install是生成config文件并直接启动虚机,而创建vrm_config.xml需要使用virsh define vrm_config.xml定义配置后,使用virsh start VRM手动启动虚机。#命令生成config文件直接运行 virt-install \ --name VRM \ --memory 12288 \ --vcpus 8 \ --cpu host-passthrough,check=none,feature.vmx.policy=require,topology.sockets=1,topology.cores=8,topology.threads=1 \ --machine pc-i440fx-4.2 \ --arch x86_64 \ --virt-type kvm \ --disk path=/data/fc/vm/VRM-NEW.qcow2,format=qcow2,bus=ide \ --cdrom /data/fc/iso/FusionCompute_VRM-8.6.0.SPC200-X86_64.iso \ --network bridge=br0,model=e1000e,mac=52:54:00:40:04:9b \ --graphics vnc,port=5906,listen=0.0.0.0,autoport=no \ --video cirrus \ --boot cdrom,hd \ --osinfo generic \ --noautoconsole #或导入config文件后手动运行 <domain type='kvm' id='82'> <name>VRM</name> <uuid>f6689c9c-16d2-4fba-937b-63041fe03a40</uuid> <memory unit='KiB'>12582912</memory> <currentMemory unit='KiB'>12582912</currentMemory> <vcpu placement='static'>8</vcpu> <resource> <partition>/machine</partition> </resource> <os> <type arch='x86_64' machine='pc-i440fx-4.2'>hvm</type> <boot dev='cdrom'/> <boot dev='hd'/> </os> <features> <acpi/> <apic/> <pae/> </features> <cpu mode='host-passthrough' check='none'> <topology sockets='1' cores='8' threads='1'/> <feature policy='require' name='vmx'/> </cpu> <clock offset='utc'/> <on_poweroff>destroy</on_poweroff> <on_reboot>restart</on_reboot> <on_crash>destroy</on_crash> <devices> <emulator>/usr/bin/qemu-system-x86_64</emulator> <disk type='file' device='disk'> <driver name='qemu' type='qcow2'/> <source file='/data/fc/vm/VRM-NEW.qcow2' index='2'/> <backingStore/> <target dev='hda' bus='ide'/> <alias name='ide0-0-0'/> <address type='drive' controller='0' bus='0' target='0' unit='0'/> </disk> <disk type='file' device='cdrom'> <driver name='qemu' type='raw'/> <source file='/data/fc/iso/FusionCompute_VRM-8.6.0.SPC200-X86_64.iso' index='1'/> <backingStore/> <target dev='hdc' bus='ide'/> <readonly/> <alias name='ide0-1-0'/> <address type='drive' controller='0' bus='1' target='0' unit='0'/> </disk> <controller type='scsi' index='0' model='lsisas1068'> <alias name='scsi0'/> <address type='pci' domain='0x0000' bus='0x00' slot='0x04' function='0x0'/> </controller> <controller type='usb' index='0' model='piix3-uhci'> <alias name='usb'/> <address type='pci' domain='0x0000' bus='0x00' slot='0x01' function='0x2'/> </controller> <controller type='pci' index='0' model='pci-root'> <alias name='pci.0'/> </controller> <controller type='ide' index='0'> <alias name='ide'/> <address type='pci' domain='0x0000' bus='0x00' slot='0x01' function='0x1'/> </controller> <interface type='bridge'> <mac address='52:54:00:40:04:9b'/> <source bridge='br0'/> <target dev='vnet4'/> <model type='e1000e'/> <alias name='net0'/> <address type='pci' domain='0x0000' bus='0x00' slot='0x03' function='0x0'/> </interface> <input type='mouse' bus='ps2'> <alias name='input0'/> </input> <input type='keyboard' bus='ps2'> <alias name='input1'/> </input> <graphics type='vnc' port='5906' autoport='no' listen='0.0.0.0'> <listen type='address' address='0.0.0.0'/> </graphics> <video> <model type='cirrus' vram='16384' heads='1' primary='yes'/> <alias name='video0'/> <address type='pci' domain='0x0000' bus='0x00' slot='0x02' function='0x0'/> </video> <memballoon model='virtio'> <alias name='balloon0'/> <address type='pci' domain='0x0000' bus='0x00' slot='0x05' function='0x0'/> </memballoon> </devices> <seclabel type='dynamic' model='apparmor' relabel='yes'> <label>libvirt-f6689c9c-16d2-4fba-937b-63041fe03a40</label> <imagelabel>libvirt-f6689c9c-16d2-4fba-937b-63041fe03a40</imagelabel> </seclabel> <seclabel type='dynamic' model='dac' relabel='yes'> <label>+64055:+108</label> <imagelabel>+64055:+108</imagelabel> </seclabel> </domain>VNC连接虚机
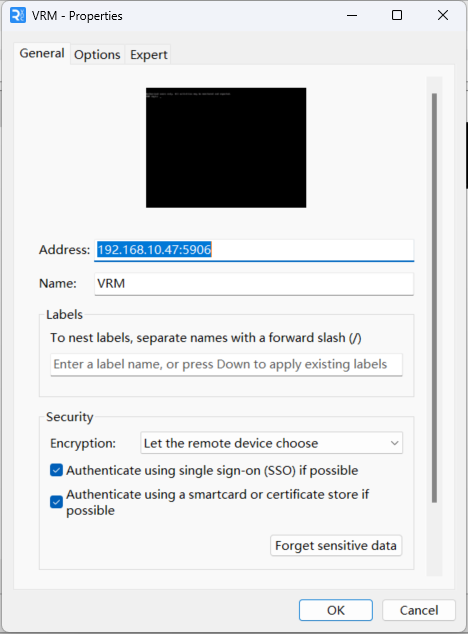
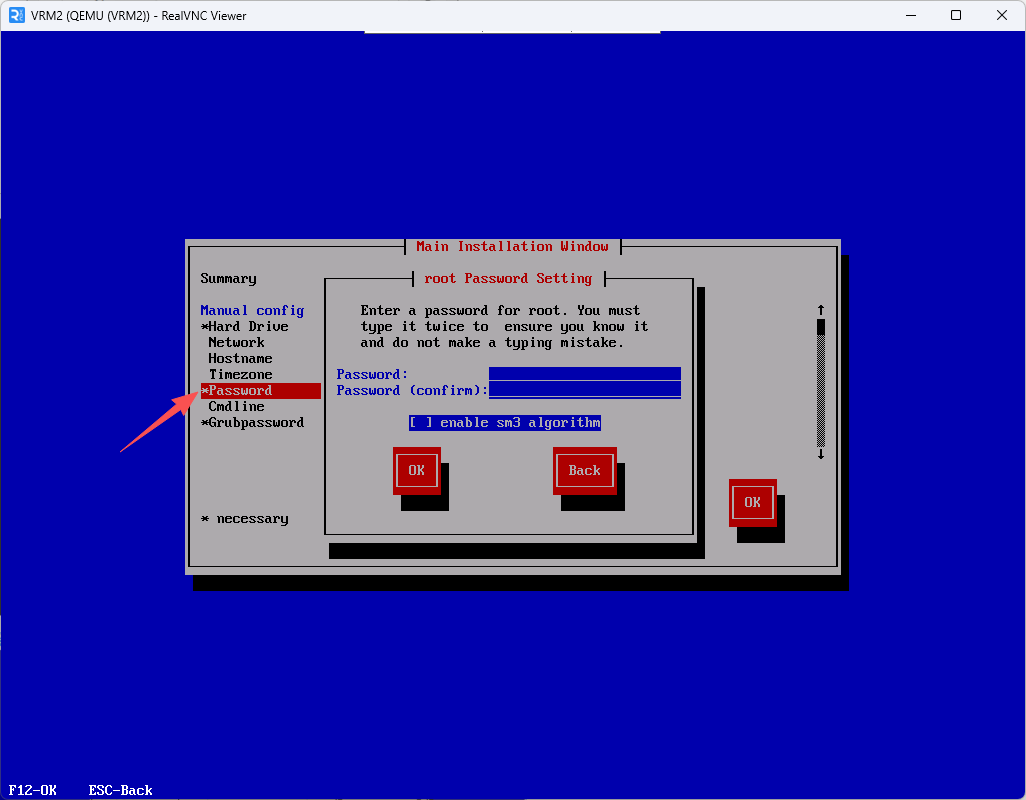
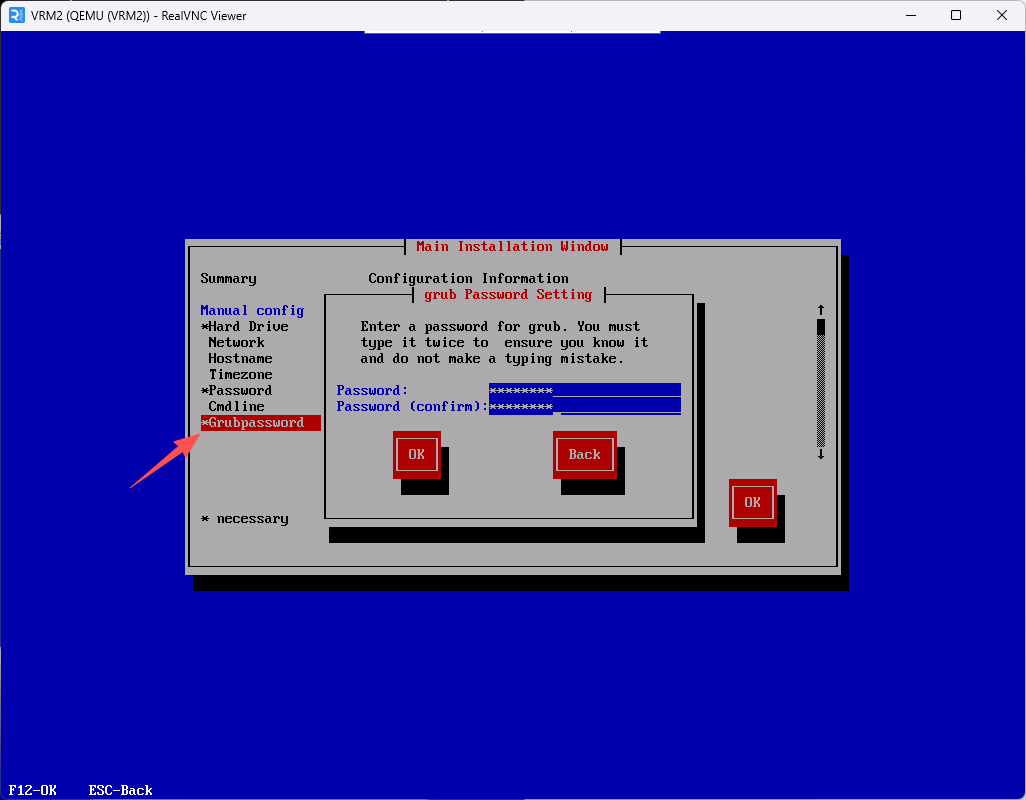
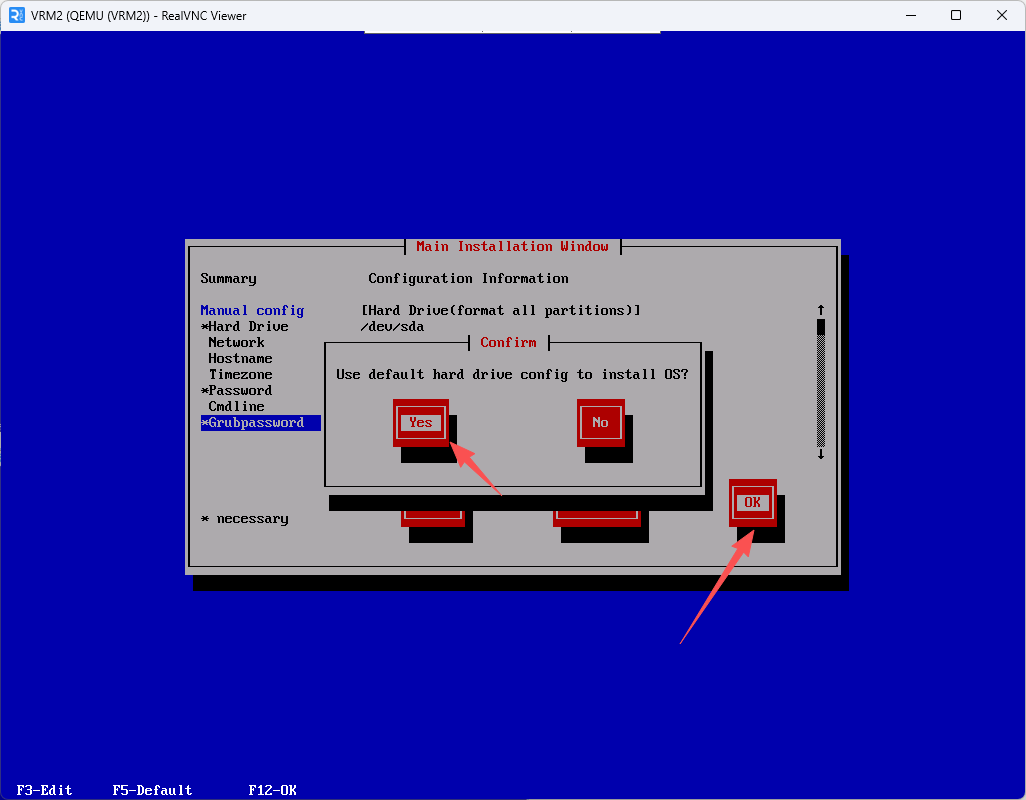
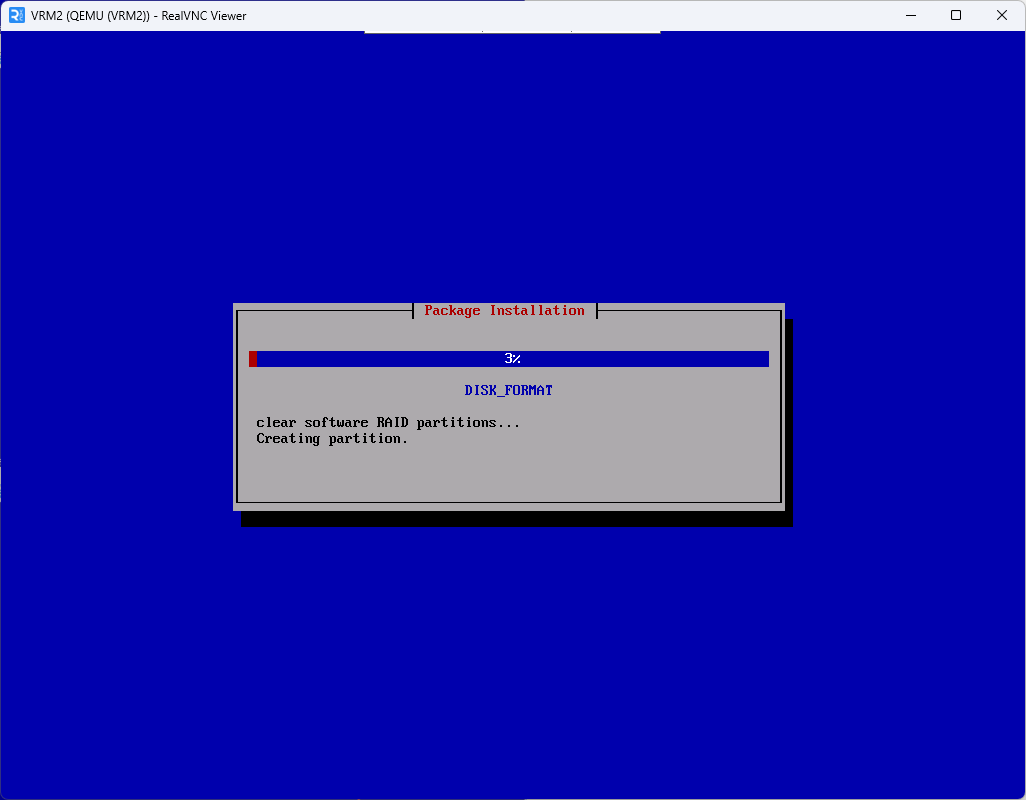
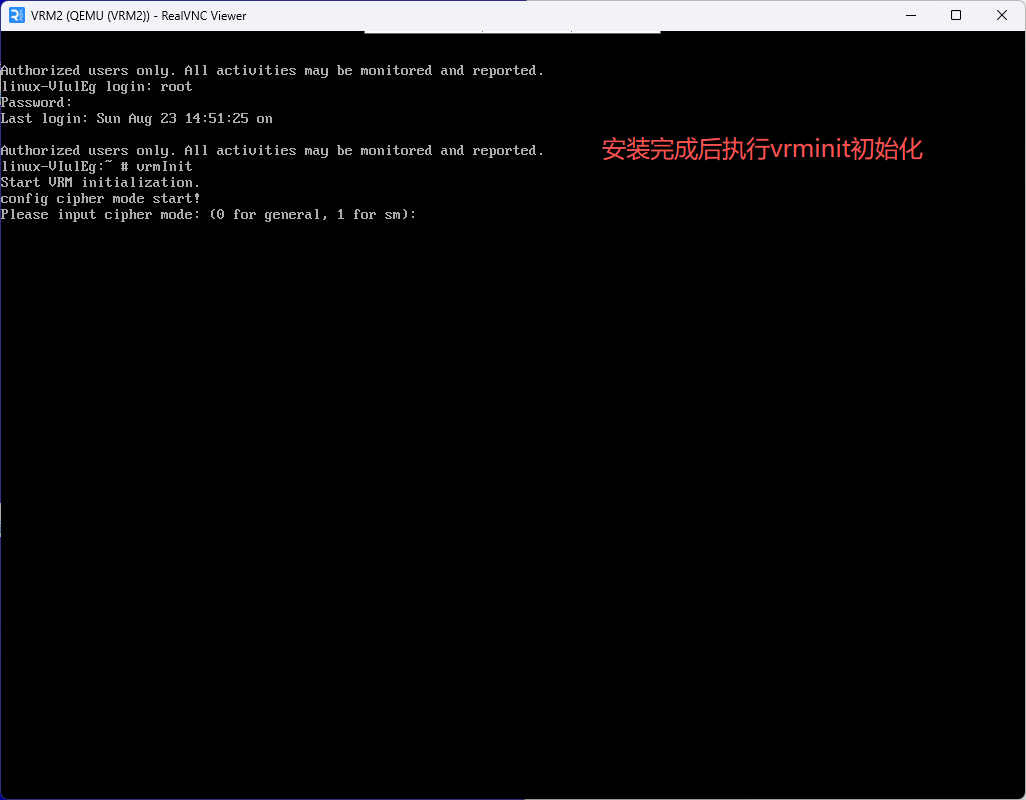
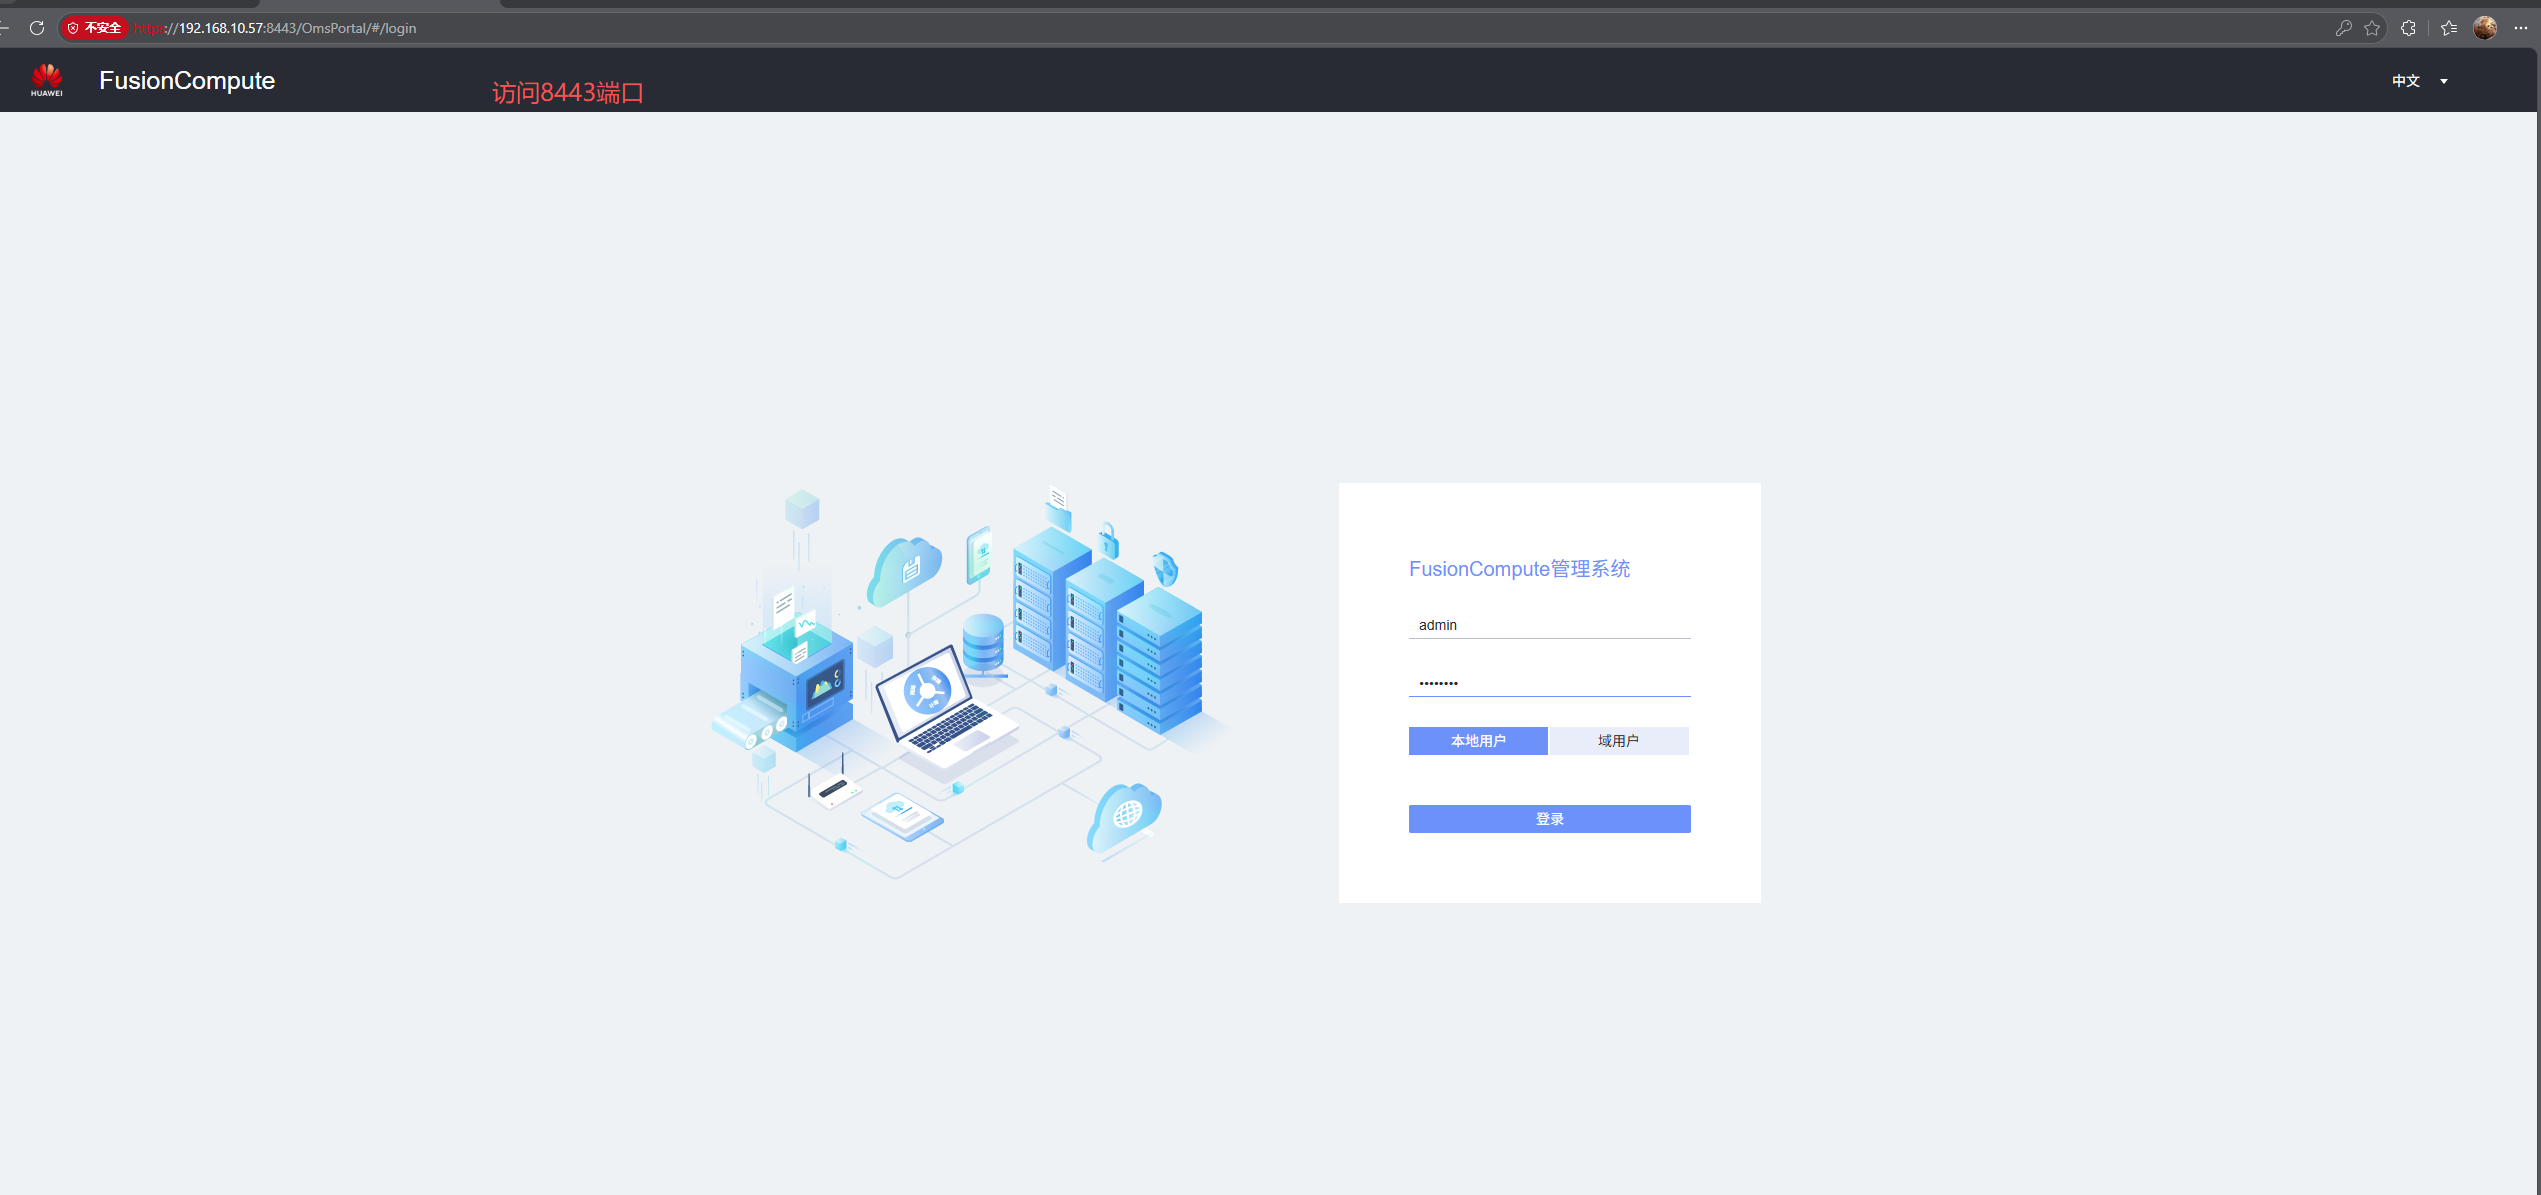
这里使用RealVNC工具连接虚机,本次VRM虚机配置的VNC端口为5906
<graphics type='vnc' port='5906' autoport='no' listen='0.0.0.0'>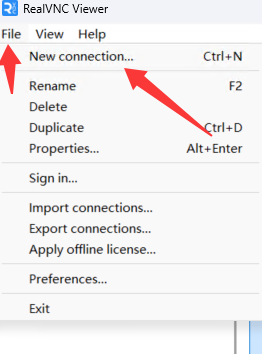
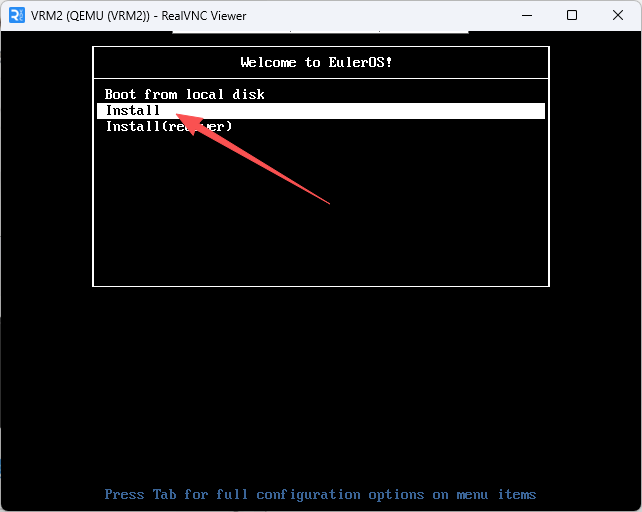
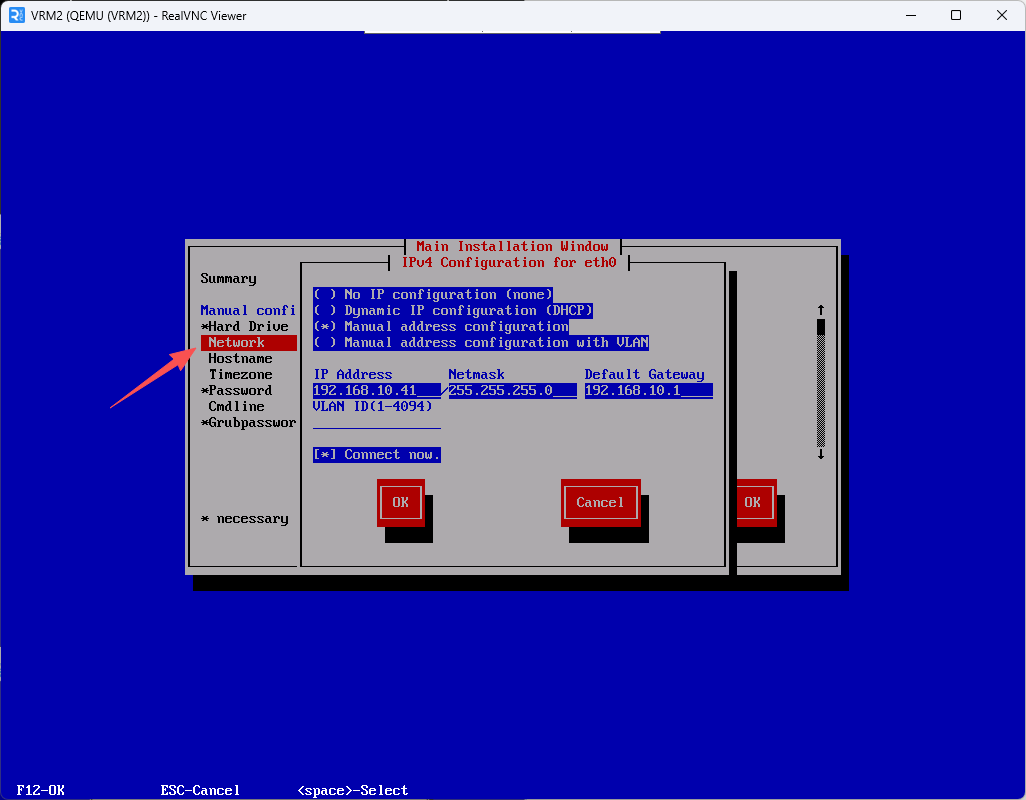
CNA部署
前期部署流程与CNA基本一致,不再赘述。
安装VMTools
FusionCompute_SIA-8.1.0-GuestOSDriver_X86.zip解压后软件包所在路径如图

参考链接:https://support.huawei.com/enterprise/zh/knowledge/EKB110015961
KVM嵌套虚拟化安装FusionCompute
https://www.hinoki.cc/archives/kvmqian-tao-xu-ni-hua-an-zhuang-fusioncompute